MetaTag Info Tool
General Information
MetaTag contains a tool to control and protocoll advertising positons and advertisements in general.
this tool can be used as tool to detect problems as well as as an alert for erroneous advertisings. Please be aware in case of erroneous advertising alerts we need an abstract of the tool report.
How to create such abstract we describe in this document.
The tool is only available for websites that implemented the Ströer "MetaTag".
Activation of the "Info Tool" for desktop sites
To recall the tool, please use the following command in your develeopment console of your prefered browser:
showSdgDebug();
For easier access you can activate a shortcut via bookmarking the command. Please insert the following JavaScript into the adress field for your bookmark (instead of a website URL):
javascript:(function(){ if (typeof window.top.SDG !== 'undefined') { showSdgDebug(); }})();
An instruction on how to save and edit a bookmark in a browser, please follow this link: How to bookmark.
Uppon tool activation, you can find a small, orange outlined rectangle in the lower right hand corner. 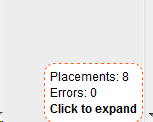
Please be aware that other elements (from the webiste) can overlap or hide the tool - for example cookie consent or general informatin directly from the website). Please close all elements to find the tool.
Using a right click with your curser on the tool, you start it,
Activation of the "Info Tool" for mobile/webview sites
The Info Tool is also available for mobile and web view (apps with Metatag).
To activate it, follow these steps:
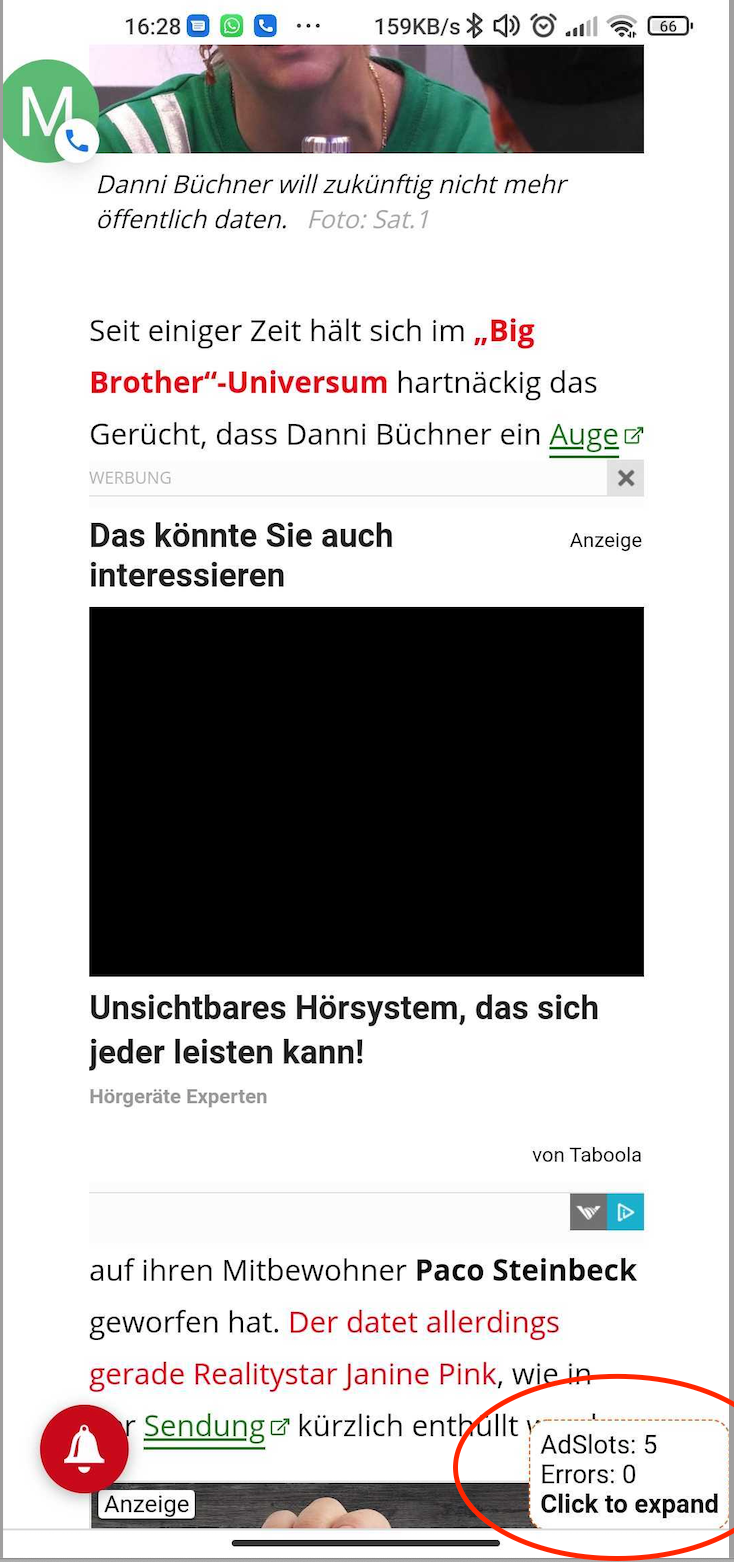
- Tap with 3 fingers for 3 seconds on the display.
- A menu with several options opens at the bottom of the display.
- Click on the menu to expand it and get more information about adslots, errors etc.
Step 1 --------------------------------------------------------------→ Step 2 ----------------------------------------------------------------→ Step 3

Functions of the "Info Tool"
By clicking the grey background tabs, you open further infomration about the TagManager.
In th upper right hand site you can find two buttons. The "cross" closes the Info Tool completely, the "underscore" brings it back on its initial starting size rectangle.
Logs - Tab
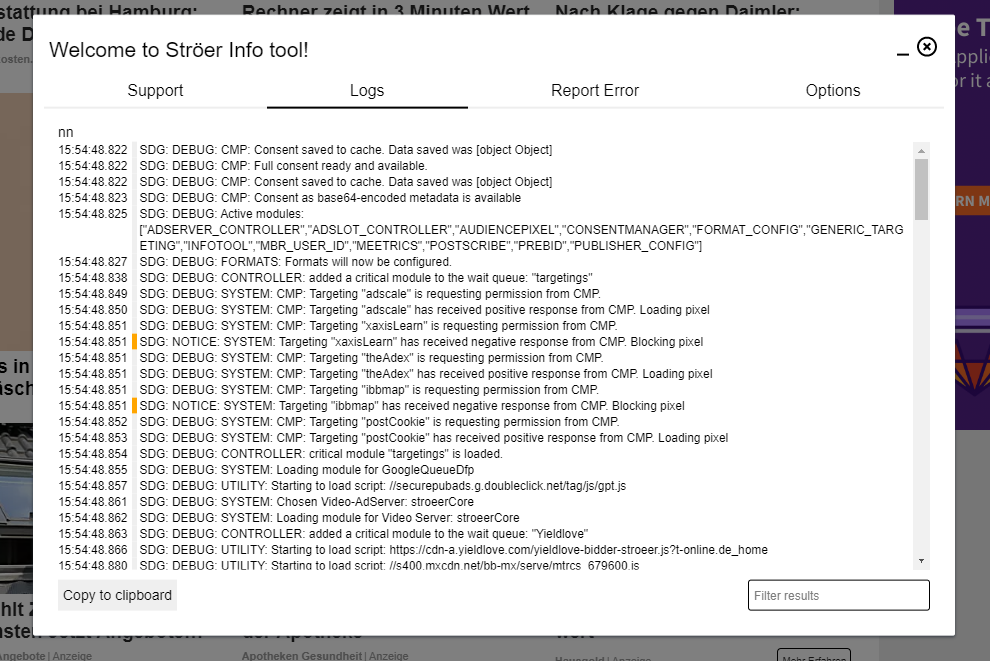
The log tab contains an all steps protocoll about the steps the TagManager does on your website. The log can support with the integration of the TagManager. It shows errors and succesful advertising delivery.
In the lower right hand site you can find a form field to filter all entries. The content of this field will be searched in all messages and only logs that contain the seached entry will show up.
Every log entry has a time stamp, a "message level" and the origin of the log.
The "level" shows how important the messages are. At the moment, the following levels are available:
- DEBUG (regular message, the TagManager made a working step)
- INFO (regular message with website relevance, a working step was finished and new functions are available)
- NOTICE (regular message with website relevance and a working step had influence on further functions/performance of the website)
- WARNING (message with relevance to website and technicians, the TagManager had figured out a potential problem. The problem is not critical, but present)
- ERROR (The TagManager caused an error, the attention of a technician is needed)
- ALERT (The TagManager caused an error with heavy impact on the website presentation or advertisements, a clean advertisement delivery is at risk)
- EMERGENCY (The TagManger found an important error and stops the complete delivery of all advertisments to avoid an incorrect delivery of advertisements and ensure the right delivery of the full website and its design. no advertising will be delivered.)
The origin of a message lays in a specific modul of the TagManager. If an error occurs, the origin can be found faster. The most important moduls are:
- PUBLISHER: At this point all commands towards the TagManager come together.
- CONTROLLER: Central administration of the advertisment placements on the website
- UTILITY: Collections of all help functions
- SYSTEM: Core of the TagManager, administers all other moduls
- YIELDLOVE: HeaderBidding Module based on an OpenSource - solution "PreBid"
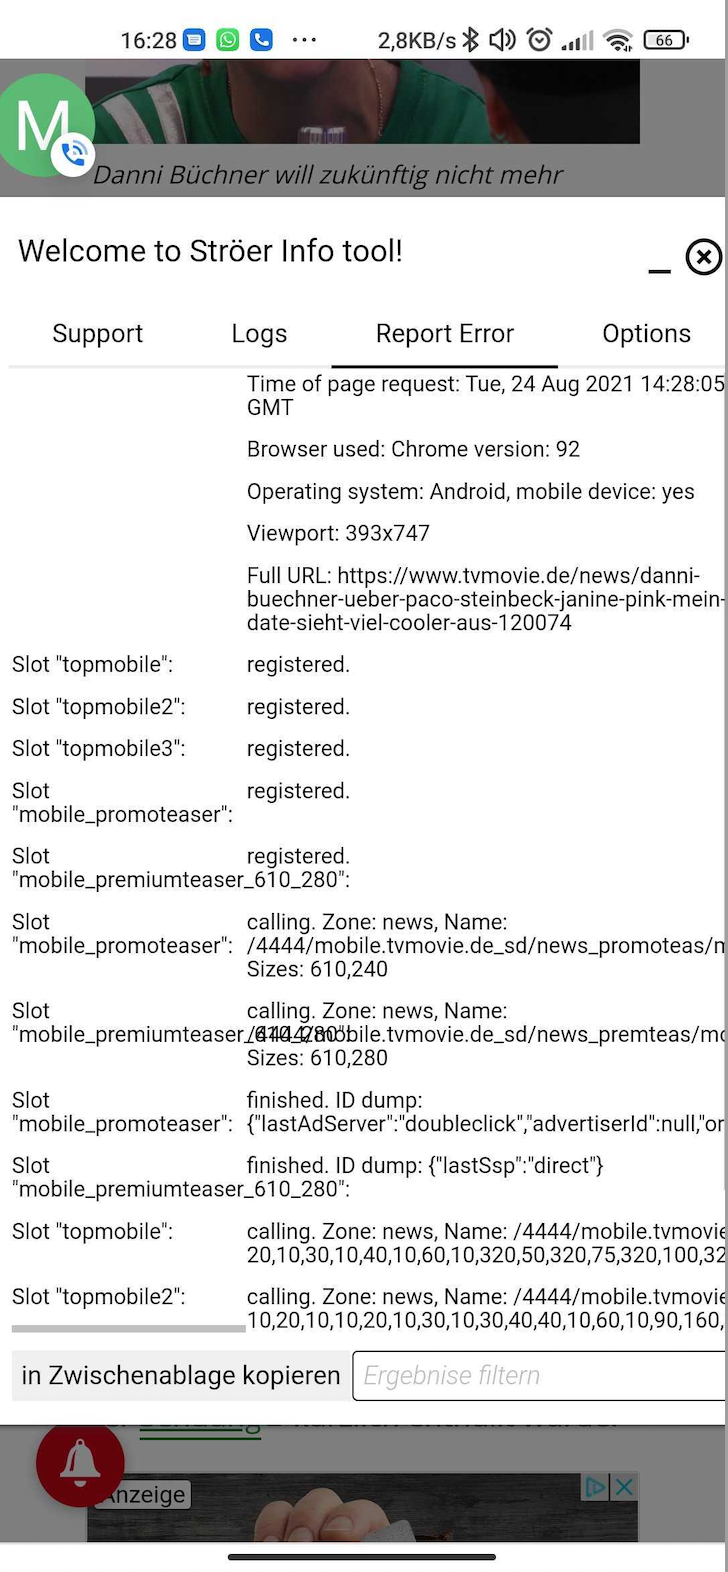
Report Error - Tab
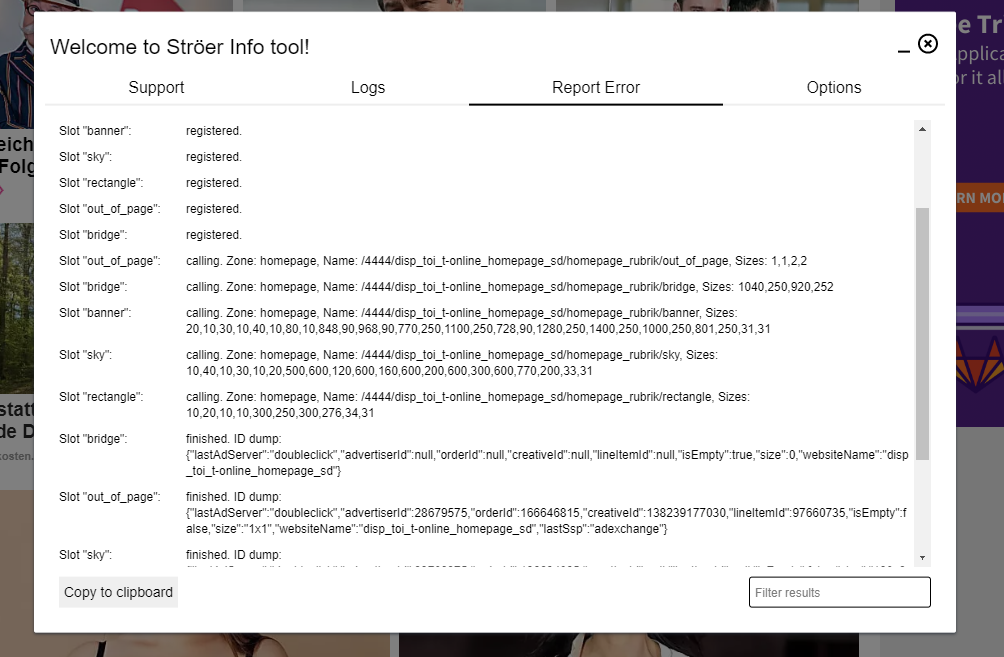
The tab "Report Error" can be used to report occuring problems and errors with the advertisement delivery. If you find an error, please open a ticket in our "Publisher Support Center" and copy the content ot the "Report Error" tab into the new ticket.
By clicking "Copy" the complete content of the tab will be copied to the clipboard. You can easily paste the copied content into the ticket, e.g. by clicking ctrl+v.
Further information on how to open a ticket can be found here: https://stroeerdigitalgroup.atlassian.net/wiki/x/OoV9Lw
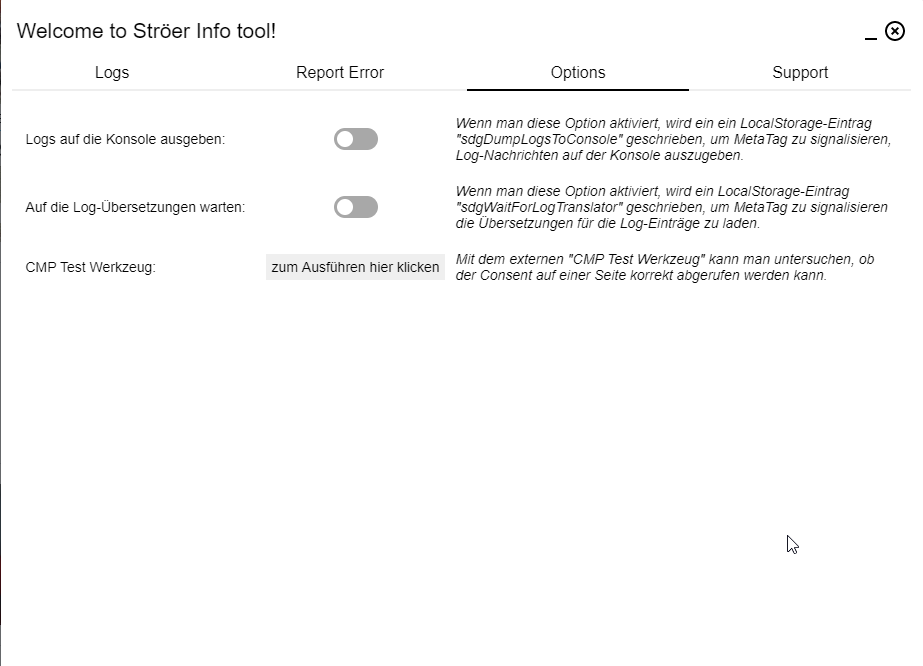
Options - Tab
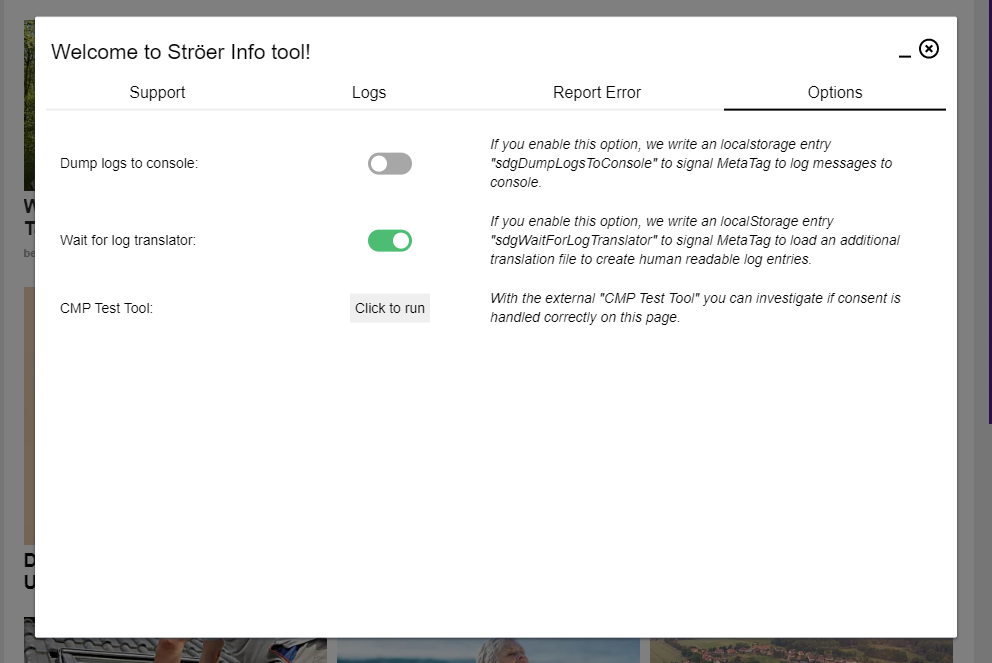
In the "Options" Tab you can adjust some of the settings of the TagManager. All changes to this settings will be saveld locally in your browser. If you change your browser or delete the local data of your browser, all changes to your settiings will be deleted.
You can change the following settings in the options tab:
- change the delivering AdServer System
As a central element for advertisment delivery the AdServer can be changed dynamically. This will change the way of delivery of advertisements (other campaigns, other functions). These options have to be configured on your website. Without the preconfiguration a change of this setting will not have any impact. - show all messages from "MetaTag" in the developer console of your browser
This is an option, that can be helpful to find problems. The console of the browser is filled with all messages you can also find in the "log" tab.
The presentation of messages within the browser console charge the capacity of your PC way havier than the "mute" presentation of messages within the "log" tab.
Please be aware of this fact in case you want to run a MetaTag performance test at the same time. - In this tab you can call up our CMP test tool
Support - Tab

The Support-Tab provides a fast access to the Publisher Support Center. By opening the tab you can find a list of different options to chose from. In case of problems on your website, you can chose from the options list the one most appealing to your problem, e.g. BadAds.
Click on one of the options button to chose from and you log information will be automatically copied and saved on your clipboard. A new browser tab will open and lead you directly to the Fitting Support Center ticket mask.Fill in the mask according to your problem and insert the copied logs simply via "ctrl+v" into the description field. In the following example we proceed with BadAds.
CMP Test Tool
This tool helps with the test of a Consent Managment Plattform (CMP).
To start the test, open the options panel in the information tool and click on the button next to "CMP Test Werkzeug":
Mobile View: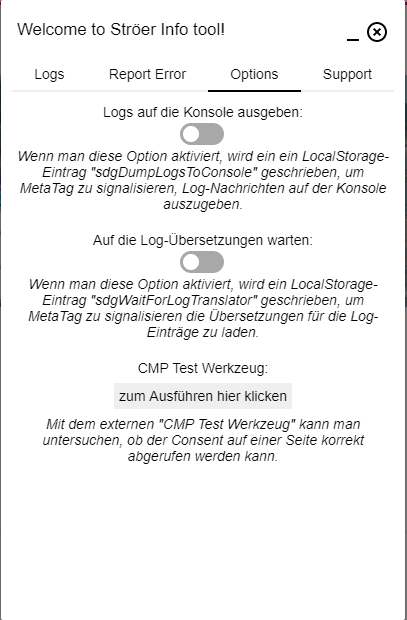
While running the test, a window will appear containing the results. If a test was successful, the line witll be marked iwith a green tick. If a test was not successful, the line will be marked with a red exclamation amrk.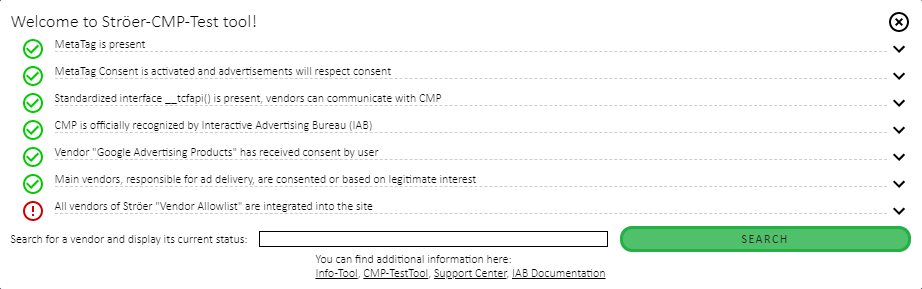
To access further information about the tested, you can access them via the small arrow to the right. There you can also find help on how to solve occured errors.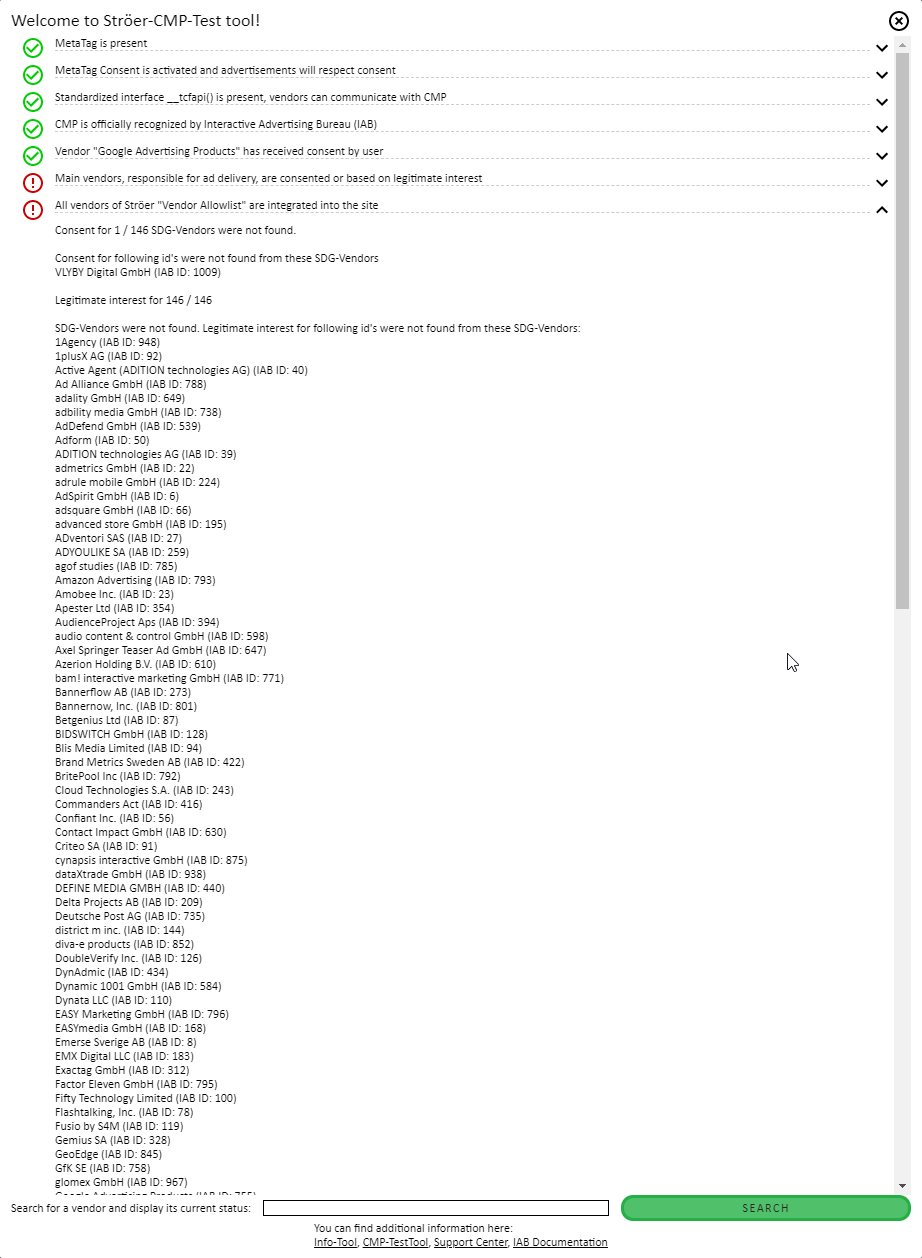
If you like to check the information about an extra service provider type the name or the ID into the entry field. If you enter a name you can chose the right one from a drop down list.
To confirm the selction hit the enter button on your keyboard or click the search button.

If you search further providers, the information will be automatically updated. If you enter the provider ID, you will need to confirm the new entry.
This tool works with every website that implemented a CMP Tool.